
tocbotで目次を追加する
今回はブログに目次機能を追加していく。Zennとかでも使われているtocbotという便利なライブラリがありそちらで実装していきます。
インストール
//まずtocbot
npm install tocbot
//unifiedとrehypeプラグインたち
npm install unified rehype-parse rehype-slug rehype-stringify
tocbotにhタグを読んでもらうための準備
tocbotはHTMLからhタグを読み取ってそれを目次にしてくれるのですが、hタグにはidが付与されてないと目次の項目にジャンプできるようになりません。
そこで使うのが先ほどインストールしたunifiedたちです。unifiedとはテキスト処理をしてくれるライブラリです。
rehypeパッケージはHTMLを処理するためのものです。unifiedはインターフェースなど動作するためのルールが定義されているだけで、動作を担うのは別途のパッケージが担います。それが今回の場合、HTMLを扱うrehypeパッケージなのです。
以下のプロセスで、hタグにidが付与され、tocbotがhタグを読み取ってくれるようになります。
HTML → rehype-parse = hast→ rehype-slug → rehype-stringfy = id付与済みHTML
赤色の部分:HTMLをrehype-parseでhastに変換します。hastとはJavaScriptのDOMの形式の一つで、この形式にすることでrehypeでの加工ができます。
青色の部分:rehype-slugでhタグにidを付与します。
オレンジの部分:rehype-stringfyで再びHTMLに戻します。
上記の処理のコードはこんな感じです。
import { unified } from "unified";
import rehypeParse from "rehype-parse";
import rehypeSlug from "rehype-slug";
import rehypeStringify from "rehype-stringify";

export async function processHtml(html: string): Promise<string> {
  const file = await unified()
    .use(rehypeParse, { fragment: true }) //  Parse HTML fragment
    .use(rehypeSlug) // Add IDs to headings
    .use(rehypeStringify) // Serialize back to HTML
    .process(html);

  return String(file);
}
wordpressの投稿内容を受け取る際に付与してくれるよう設定しました。
content: await processHtml(AppliesTypes._replaceUrl(data.content)),
これでtocbotにhタグをよんでもらう設定が完了しました。
tocbotに目次にしてもらう
次にtocbotにどこを目次にしたらいいか教えてあげます。
postクラスを設定したところから監視して、目次を生成してくれる。headingSelectorでどのhタグにするか指定できる。scrollSmoothOffsetとheadingsOffsetでスクロールしたときの位置の調整 もできます。
"use client";

import React, { useEffect } from "react";
import tocbot from "tocbot";

function Toc() {
  useEffect(() => {
    // Tocbotの初期化
    tocbot.init({
      tocSelector: ".toc", // 目次の表示部分のクラス
      contentSelector: ".post", // 目次を生成する対象のクラス
      headingSelector: "h2, h3", // 目次に表示する見出しのタグ

      scrollSmoothOffset: -100,
      headingsOffset: 350,
    });

    return () => tocbot.destroy();
  }, []);

  return (
    <div className="order-2 pt-16 ml-8 sticky top-0 self-start">
      <h4 className="text-xl border-l-4 border-secondary pl-1">目次</h4>
      <div className="toc px-0 pt-4 pb-8 text-base [&_li]:pt-4"></div> {/* 目次の表示部分 */}
    </div>
  );
}

export default Toc;
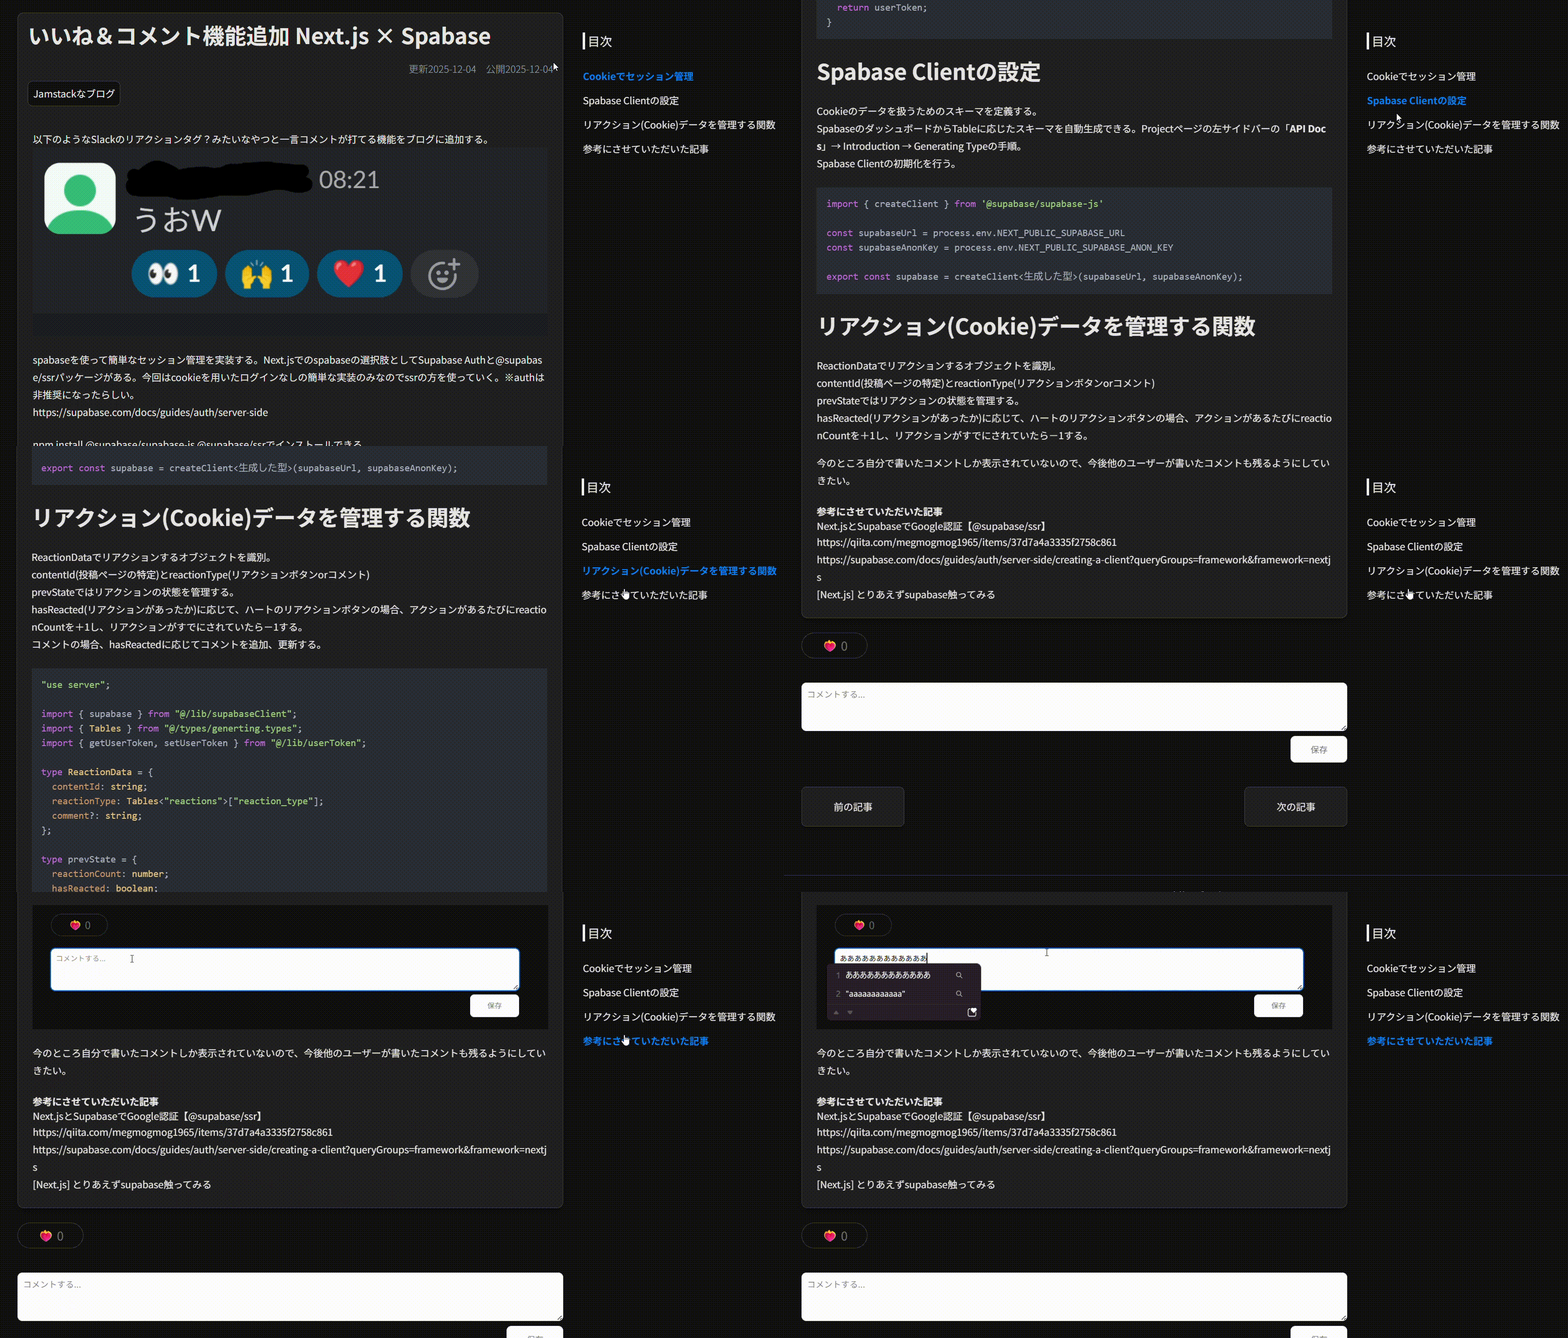
これで完成!
参考リンク
https://github.com/tscanlin/tocbot
https://github.com/unifiedjs/unified/blob/main/readme.md
参考にさせていただいた記事
https://amateur-engineer-blog.com/create-toc-by-tocbot-for-nextjs-mdx-blog#はじめに